ANET ET4 FIRMWARE UPDATING GUIDELINES
Last year, for improving Anet ET4’s performance and user experience, we released a series of ET4 firmware updates. However, recently, we noticed that many has reflected that, for instance, the printhead was out of command, or the LCD screen just got stuck on its logo interface after they finished the update. Today, let’s get this trouble resolved once for all!
We seem also not to be an exception from this commonsense that firmware updating of any electronic equipment cannot be perfectly risk-free, once it fails, your machine will frustratingly be a big brick. However, though risk exists, we have found some effective methods to easily avoid. Many friends from our Facebook group have already raised useful advice that is to format your SD card before you update.
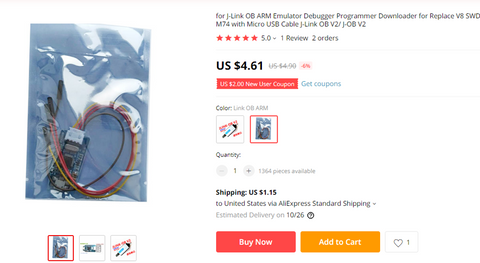
This is a good start, but if your screen just don’t work after you update, we need another tool - J-Link. We recommend this cheap and nice type:
Now let’s concretely introduce how we make use of J-Link:
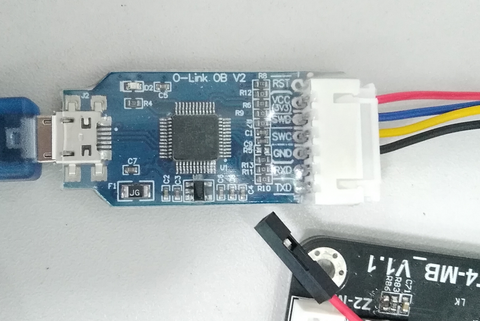
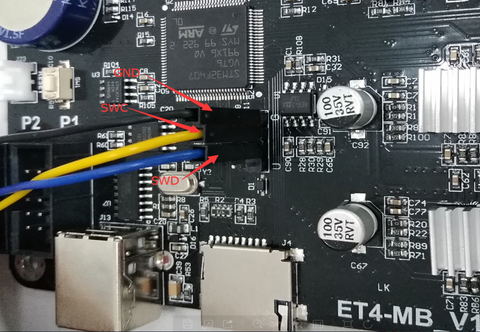
Step 1: Connect the J-Link to the motherboard.
But please pay attention that this process must be operated with your machine powered off! And according to the wire labels in J-Link, plug the three wires labeled GND, SWC and SWD into motherboard in the order shown in the picture.
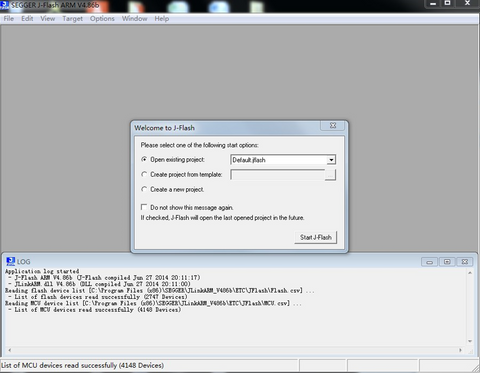
Step 2: Install its supporting software - J-flash.
Here is the download link:
https://www.segger.com/downloads/jlink/JLink_Windows.exe.
After finishing the installment and open it, we click “Start J-Flash”.
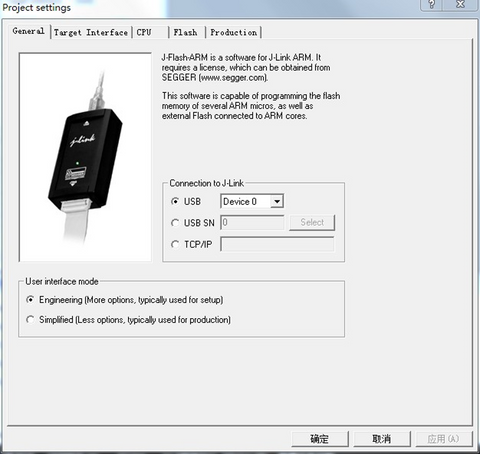
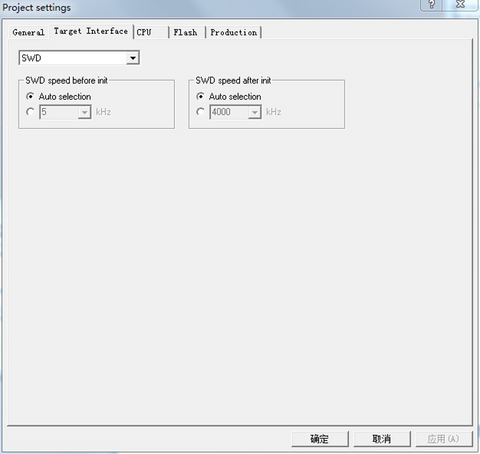
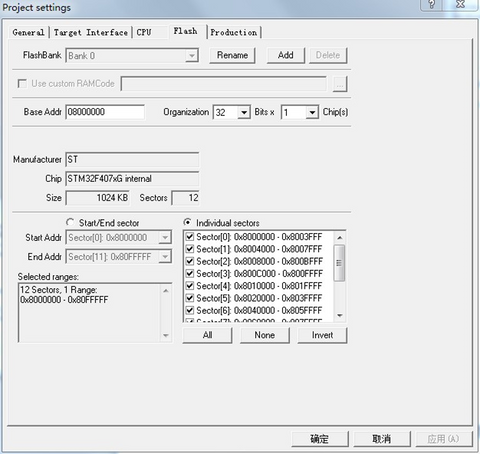
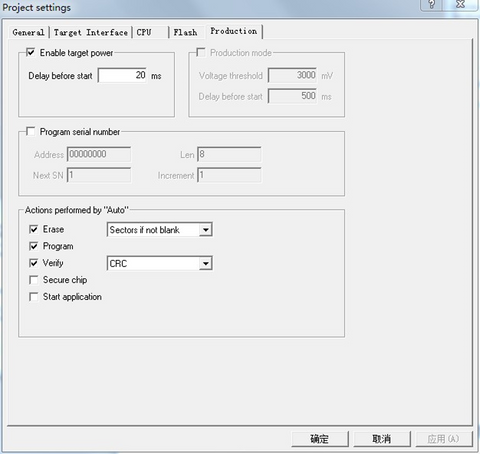
Step 3: Click “Options->Project setting”, and please following the pictures below to modify these parameters:

Step 4: Click “File->Open date file” to select our ET4 firmware update to be burned into the motherboard. (J-Flash supports .hex or .bin file)
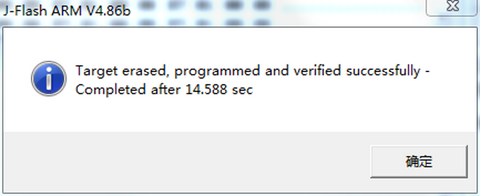
Step 5: Turn your machine’s power on. (By the way, when you run the update you must use digital power with its electric current under 200mA to avoid breaking the motherboard). Click “Target->Auto” or press F7 and wait the command suggesting that it completes.
So guys, have you got how to currently update firmware? Hope you all can figure out. And if you still feel puzzled, you can reach to Karl's solution on CNX-Software, which is also easy and feasible.
Thank you and enjoy your print!